
Timber floors are often sealed to help preserve the wood and maintain its natural beauty. Wood has tiny pores that allow water to seep through. When using timber flooring, any water spilt onto the floor can cause the wood to rot if it is absorbed – that’s where the sealant comes in.
The usual process is to:
- Optionally apply wood stain
- Apply the first coat of sealant
- Lightly sand the floor (by hand is fine)
- Apply the second coat of sealant
- Let it dry, and you’re done.
Here are the steps explained:
Apply wood stain
This step is optional, but if you do want to stain the wood flooring, this must be done before the sealant is applied. The steps to do this right can be complicated because some stains can raise the grain of the wood, which requires a heavier floor sanding after applying the finish. This will be covered in a separate article.
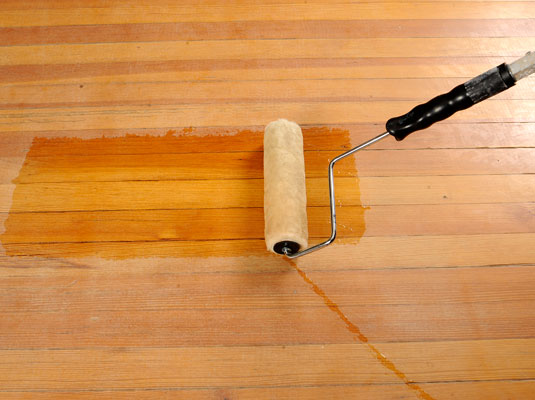
Apply the floor sealant
When you have selected the floor sealant, you want to apply it as evenly as possible. Using a large roller or lambswool applicator will help you do this quickly and evenly.
Remember to “cut in” the room first. This basically means using a paint brush to apply sealant to the edges of the room. Do this before sealing the rest of the floor for the best end result.
Sand the floor
Read the instructions for the floor sealant and let the first coat dry as directed. Once dry, lightly sand the floor by hand using a fine sandpaper. The objective is to roughen up the sealant so that the second coat will adhere to it more closely and give a thicker finish.
Apply the second coat of sealant the same way as the first, let it dry and you’re done!
Useful tip: Wear socks to minimize dirt and marks while working on the unsealed floor.